
Can I add custom fields to record donor information?
Create custom additional fields for donations, set their input type and order, and inactivate or delete them.
Yes. You can create custom additional fields to record extra donor information.
Add a custom field
- At the top of your dashboard, click the module access icon and go to Administration → Finance → Donations to open the Donations page.
- At the top right, click Additional Fields.
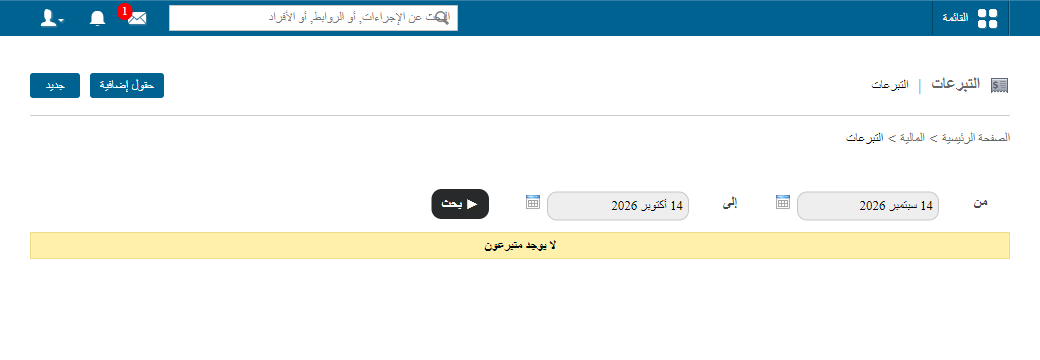
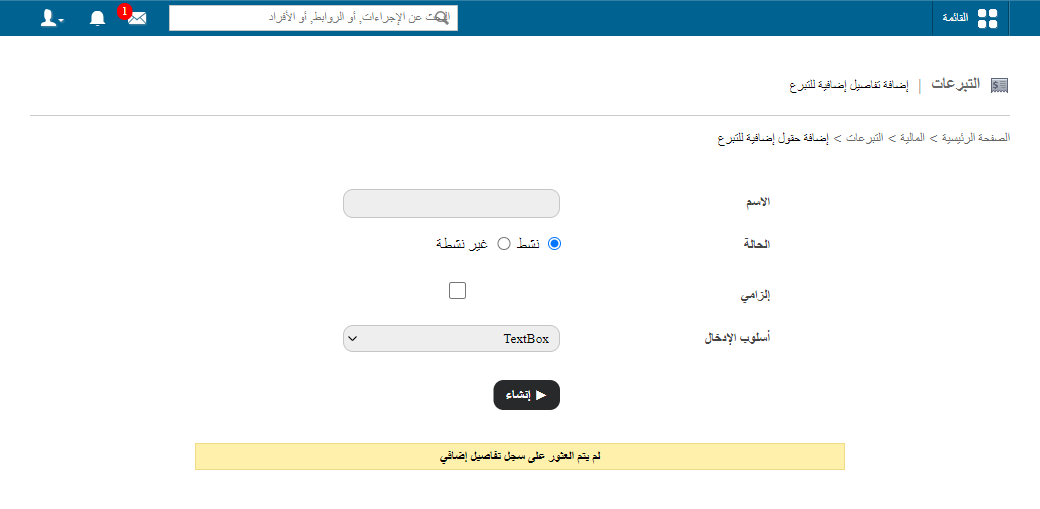
- In the Name field, enter the name of the custom field.
- Select the status of the field:
- Active: the field is available when entering donor information.
- Inactive: the field is not available when entering donor information.
- Select Is mandatory if the field must be filled in when adding a new donor.
- In Input method, choose how the field is filled in:
| Input method | Use it to… |
|---|---|
| Text Box | Enter short text. |
| Text Area | Enter longer, detailed text. |
| Select Box | Choose one option from a drop-down list. |
| Check Box | Choose one or more items from a set of options. |
- Click Create. The custom fields appear at the bottom of the form when you enter donor information.
- Use the arrow icons to set the order in which the fields appear.
Inactivate or delete a custom field
If you no longer want a custom field to appear when adding a donor, you can inactivate or delete it. You cannot delete a field that has already been used to record donor information.
- Go to Administration → Finance → Donations.
- At the top right, click Additional Fields.
- To inactivate a field, click Edit next to it, select Inactive, and click Update. Inactive fields move to the Inactive fields list.
Screenshot — to be added
public/images/articles/faq-finance-donor-fields-3.png- To delete a field, click Delete next to it.
The animation below shows the full process.
Screenshot — to be added
public/images/articles/faq-finance-donor-fields-4.pngSee also Donations.
Was this article helpful?
Thanks for your feedback!